Shadowbox and NextGEN Gallery Sitting in a Tree
A project I’m currently working on requires a photo gallery, luckily with WordPress there are quite a few to choose from. Of the gallery plug-ins I’ve used NextGEN Gallery is without doubt my favorite, chocked full of useful features and easy to use; you could even let a client use it! My only issue is the way the images appear in a ‘lightbox’ when you click on them, the ‘lightbox’ is great, but it’s implementation seems a little clunky.
By default NextGEN adds a chunk of code to the WordPress header which is one of my pet hates, that has to go. NextGEN uses ThickBox, which is great, but as it says on the website “Thickbox had its day” so it’s time to use an alternative. One that’s really caught my eye is Shadowbox.js.
Shadowbox.js is a fully featured media viewer that supports the webs most popular formats (images, Flash, QuickTime, Windows Media Video and FLV via JW FLV Player). Pretty much every format you really need. It also has the added bonus of being available either as a standalone script or integrated with your favourite JavaScript library (jQuery, Prototype, MooTools, Dojo, YUI and Ext). For me personally, it ticks every box… and it also looks great and works well!
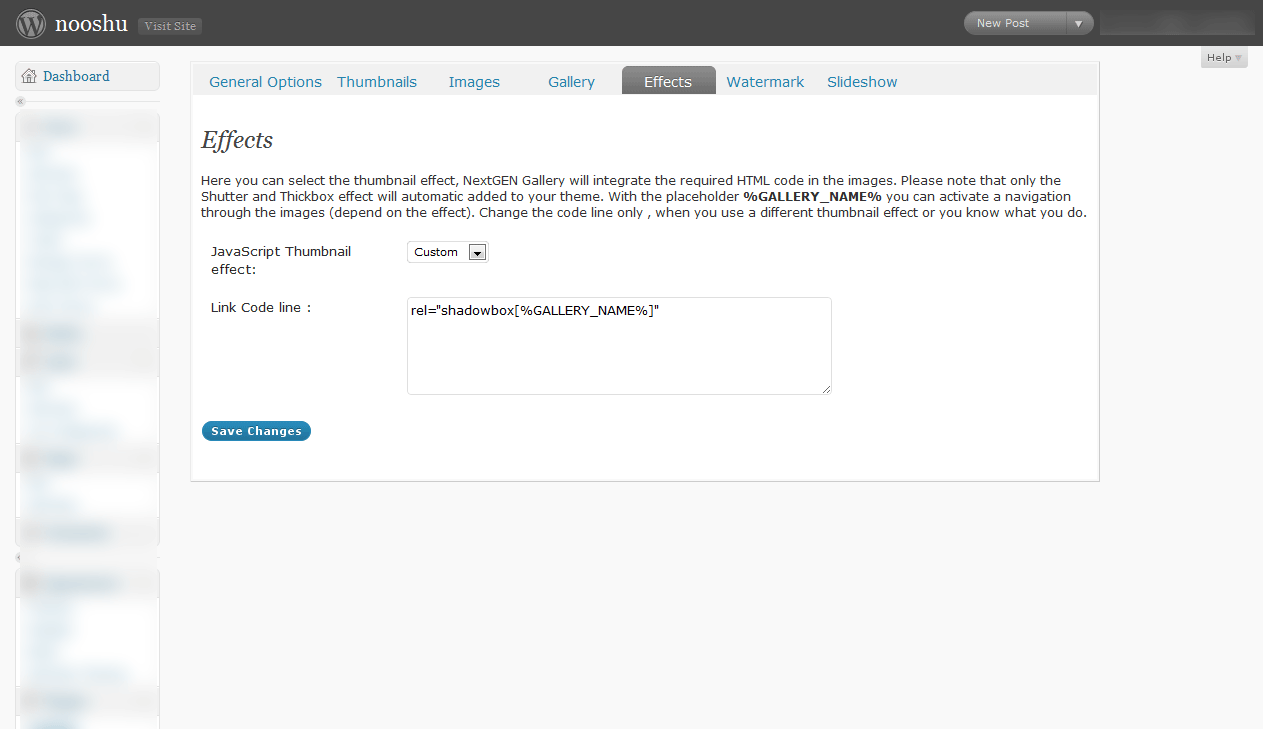
So now time to bring the two together. First you should install the NextGEN gallery plug-in which you may already have it installed. Next you need view the gallery ‘options’ and select the ‘Effects’ tab. Change the “JavaScript Thumbnail effect:” to Custom and add the following code to the text box:
1
rel="shadowbox[%GALLERY_NAME%]"

The code will be added to each thumbnail generated by the gallery. Changing the dropdown to custom also removes various bits of default NextGEN code from the header, solving that problem too.
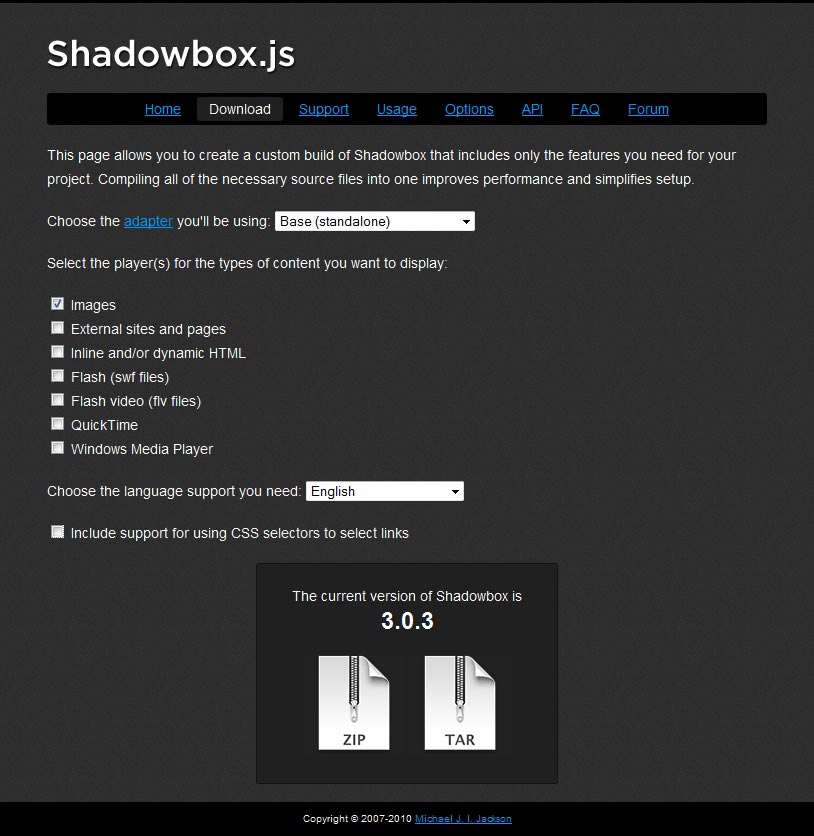
Next it’s time to download Shadowbox.js. You have a few options on this page, as I only want to display images I selected ‘Base (standalone)’, checked the images checkbox and unchecked “Include support for using CSS selectors to select links”. I don’t plan on using shadowbox with jQuery so I didn’t add the jQuery adapter, this also keeps the filesize to a minimum.

Hit the download button to download the ZIP. Once downloaded extract the CSS, JS and images into your WordPress theme directory. All thats left to do now is add a little code to your theme.
In your header.php add:
1
<link rel="stylesheet" type="text/css" href="<?php bloginfo('stylesheet_directory'); ?>/shadowbox.css" />
Or what I prefer to do is copy the CSS from shadowbox.css into my main style.css file, this way you keep everything in one place and you minimise HTTP requests. Then add the JavaScript to your footer.php (or header.php, but I prefer to put all JS in the footer.php).
1
2
3
4
<?php if(is_single()):?>
    <script src="<?php bloginfo('stylesheet_directory'); ?>/js/shadowbox.js" type="text/javascript"></script>
    <script type="text/javascript">Shadowbox.init();</script>
<?php endif;?>
Note the use of the ‘is_single()’ WordPress conditional tag. Since I’m only planning to use Shadowbox on an individual blog post I only call it on those pages. Feel free to remove this if you plan on using it elsewhere on your site.

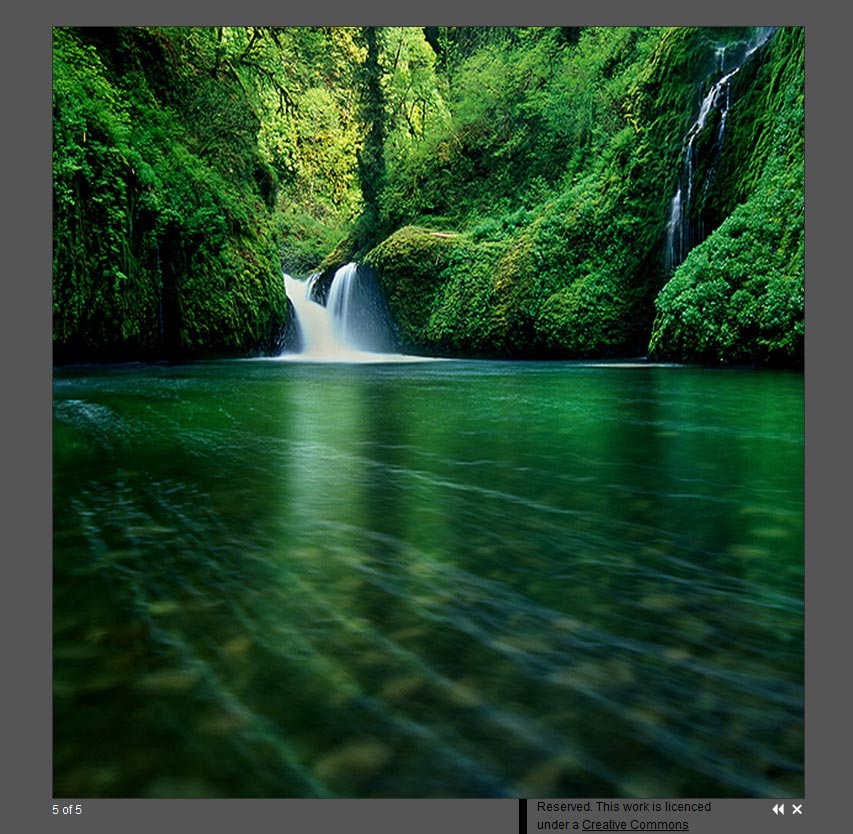
Once those bits are added you’re all done! If you don’t see the any open, close, next, previous images make sure you are pointing to them correctly in your CSS file (since they are background images). Hurrah! Enjoy your new improved version of NextGEN Gallery complete with Shadowbox.js.
